03. Exercises - Preface
Workspaces
In this program, you'll be able to practice what you've learned right inside the classroom!
A Workspace is a development environment integrated into the Udacity Classroom. Your Workspace is backed by a Linux virtual machine (Ubuntu). You have access to a terminal, so you have complete control over installing packages and modifying content.
Exercises in Workspaces
Each Workspace contains an instructions.md file that contains the instructions for the exercise. Each Workspace also contain a Possible Solution folder located inside of the src folder. We recommend not looking inside the Possible Solution folder until you have finished the exercise on your own. That way, you can practice recalling and applying what you've learned, thereby solidifying your understanding of the material.
Let's get started!
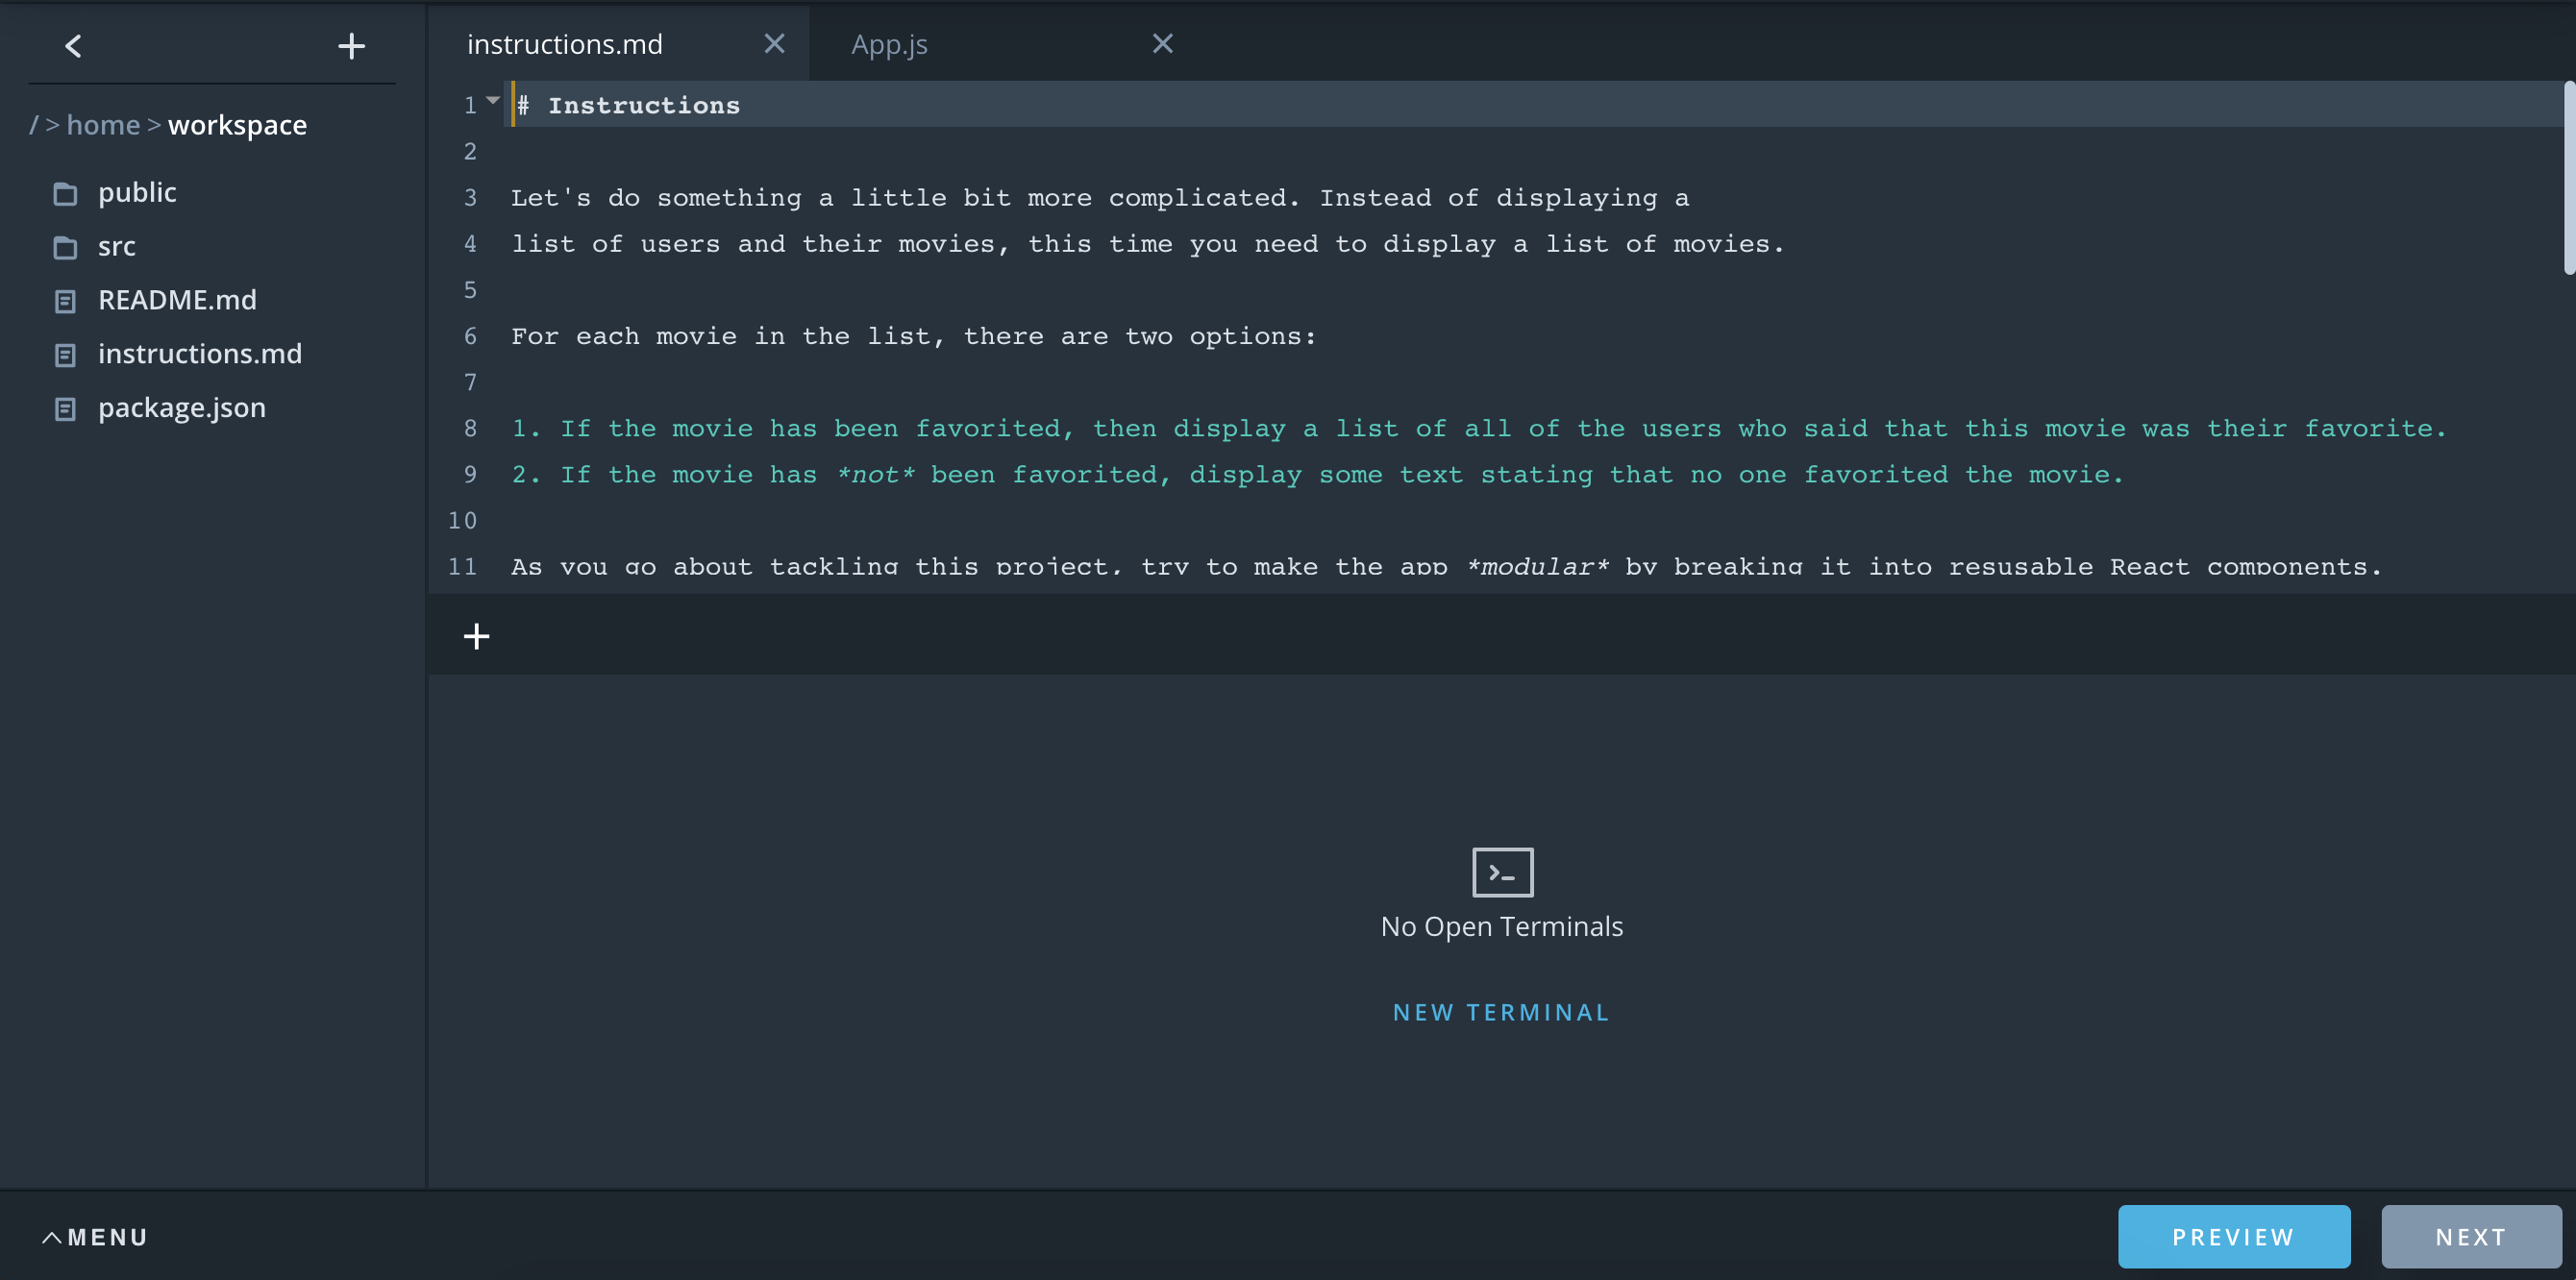
Below is what your Workspace will look like:

Here's your Workspace! We'll go over the important bits in a second.
Preservation Information
The first time you open your Workspace, a new virtual machine is created just for you. Any files that you modify in /home/workspace or any new files you add in /home/workspace are automatically backed up and saved. The next time you come back to the Workspace, any previous changes will be preserved.
If you don't interact with the Workspace for 30 minutes, the Workspace will be suspended. The Workspace becomes idle by any of the following:
- not interacting with the browser tab of the Workspace
- closing the browser tab with the Workspace
- if your laptop goes to sleep
- etc
Restoring Your Workspace
If your Workspace has been suspended after a period of inactivity, just click the "Wake Up Workspace" button to restore it. Remember that none of your data is lost.
Project Development
Think of your Workspace as a normal computer:
- Open up the files you need to edit (saving is done automatically).
- Open terminal windows as necessary.
- The terminal should start at
/home/workspace, so make sure tocdto the correct directory as necessary.
- The terminal should start at
- Start the project
- start a terminal (no need to
cdanywhere) - run
npm install - run
npm start
- start a terminal (no need to
- Open the
srcfolder and start working on the exercise.

To view your project, click the Open Preview Tab.
- To view your project, click the "Open Preview Tab" button located in the lower left of the screen.
- Running
npm startcauses Create React App to display a URL ofhttp://localhost:3000/. Because your Workspace is running in a virtual machine, typinghttp://localhost:3000/into your browser will not access the local host of the VM, so make sure to use the "Open Preview Tab" button.
- Running
Committing to Github
We strongly recommend committing your files to Github whenever you're working on coding projects. Workspaces provide a convenient way to do that - just use the Workspace Terminal.
To commit files from your Workspace directly to Github:
- Set up a new Github repository.
- Use the Workspace terminal to commit files to Github as usually would. If you need a refresher, click here.
Don't forget to add yournode_modulesfolder to the.gitignorefile.
Unable to Access Your Workspace?
If you are unable to access your Workspace in the Classroom it could be because you have "3rd Party Cookies" disabled in your browser. Workspaces need to set a "3rd party cookie" to enable access.
Check out this Workspace troubleshooting FAQ for information on how to enable 3rd party cookies for your browser.